
In short
Surya Namaskar is a sequence of twelve positions linked to the breath: prayer, raised arms, forward bend, lunge, plank, knees-chest-forehead, cobra, inverted V, lunge, forward bend, raised arms, and back to standing. Inhale as you open, exhale as you fold, and hold the breath in the plank. One round is the sequence done twice — right leg leading, then left. Beginners start with four rounds.
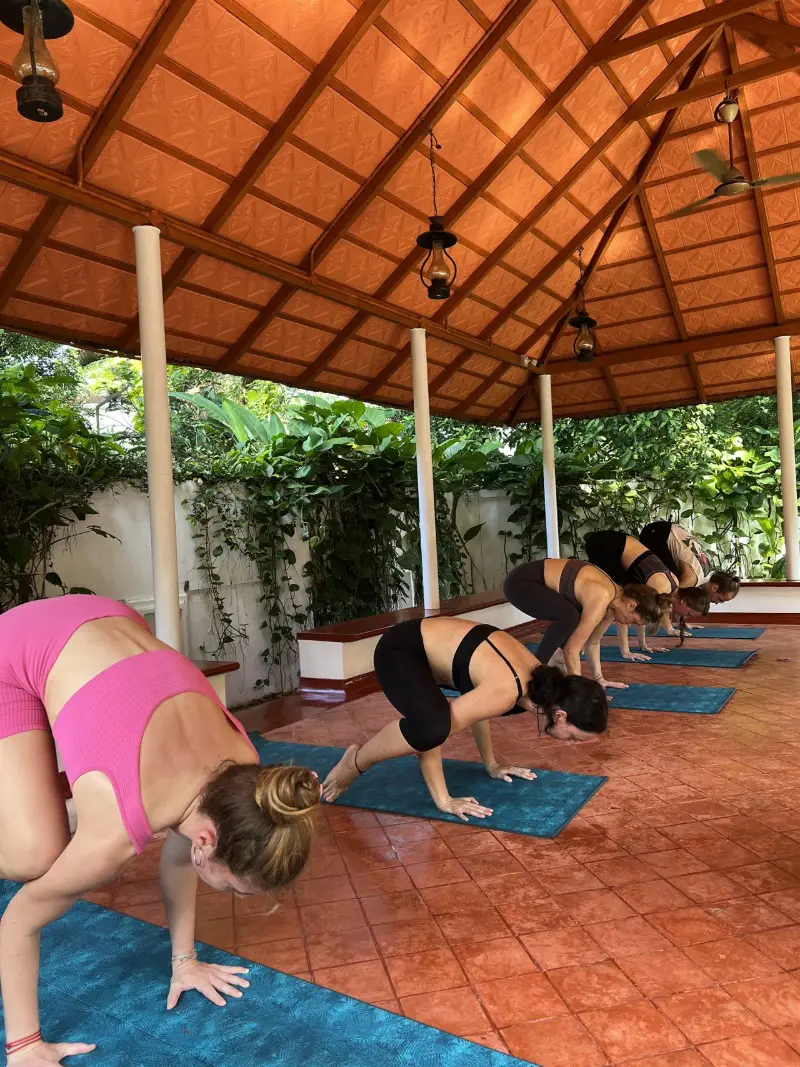
In every class at our school, once the opening relaxation and breathing practice have settled the body and mind, it is warmed the same way: a few rounds of the Sun Salutation, done slowly enough to breathe through the nose. Across more than five thousand classes, it is also the thing I correct most — not because it is difficult, but because it is so familiar that people stop paying attention to it.
There are many versions of Surya Namaskar. This page teaches the classical Hatha version as practised in the Sivananda tradition, in which I trained. If you learned a slightly different sequence elsewhere — lowering the chin rather than the forehead, or a different breath at the start — that is not wrong; it is a different lineage. What matters is that you practise one version consistently and with attention.
- Positions
- 12
- One round
- The sequence twice: right, then left
- Beginners
- 4 rounds
- Build up to
- 12 rounds, gradually
- Best time
- Sunrise, empty stomach
- Breath
- Through the nose, never strained
What Surya Namaskar is
Surya means sun and namaskar means salutation. The practice combines movement, breath and, traditionally, a mantra for each position — so it is not simply a warm-up, although it is a very good one. Each position counterbalances the one before: the spine bends forward, then back; the chest closes, then opens; the breath follows.
That is why it comes early in a Hatha class, once the body and breath have settled. In ten minutes it warms the major muscles, moves the spine in every direction it is meant to go, and — just as importantly — settles the attention onto the breath before the slower postures begin.
The 12 positions at a glance
| # | Position | Breath | Mantra |
|---|---|---|---|
| 1 | Prayer position | Exhale | Om Mitraya Namah |
| 2 | Raised arms | Inhale | Om Ravaye Namah |
| 3 | Forward bend | Exhale | Om Suryaya Namah |
| 4 | Lunge — right leg back | Inhale | Om Bhanave Namah |
| 5 | Plank | Retain | Om Khagaya Namah |
| 6 | Knees, chest, forehead | Exhale | Om Pushne Namah |
| 7 | Cobra | Inhale | Om Hiranyagarbhaya Namah |
| 8 | Inverted V | Exhale | Om Marichaye Namah |
| 9 | Lunge — right foot forward | Inhale | Om Adityaya Namah |
| 10 | Forward bend | Exhale | Om Savitre Namah |
| 11 | Raised arms | Inhale | Om Arkaya Namah |
| 12 | Return upright | Exhale | Om Bhaskaraya Namah |
Then repeat all twelve leading with the left leg. That pair is one round.
Step by step
1. Prayer position — exhale
Stand with the feet together and the weight even across both feet. Bring the palms together in front of the chest. Exhale fully. Take a moment here: the quality of this first breath sets the pace of the whole round.
2. Raised arms — inhale
Inhale and stretch the arms up alongside the ears, then arch back gently from the waist. Keep the legs firm and the hips over the feet; the bend comes from lengthening the front of the body, not from pushing the hips forward and collapsing into the lower back.
3. Forward bend — exhale
Exhale and fold forward from the hips, bringing the palms down beside the feet, fingers in line with the toes. Bend the knees as much as you need to — flat palms matter more here than straight legs. From now until step 10, the hands do not move.
4. Lunge — inhale
Inhale and take the right leg back as far as is comfortable, placing the right knee on the floor. The left foot stays between the hands, the left knee over the ankle. Lift the chest and look up.
5. Plank — retain the breath
Holding the breath, bring the left leg back beside the right and support the body on the hands and toes, in one straight line from head to heels. Do not let the hips sag or lift. If holding the breath is uncomfortable, simply breathe — see the note on retention below.
6. Knees, chest, forehead — exhale
Exhale and lower the knees to the floor, then the chest, then the forehead, keeping the hips lifted. This is the position most often rushed. Lower in that order, deliberately, and keep the elbows close to the body.
7. Cobra — inhale
Inhale, lower the hips to the floor, point the toes, and bend back, lifting the chest. Lift with the back muscles, not by pushing hard through the arms; the elbows can stay slightly bent and close to the body. Shoulders down, away from the ears.
8. Inverted V — exhale
Exhale, curl the toes under, raise the hips and pivot back into an inverted V. Let the head hang between the arms and the heels reach towards the floor — they do not need to touch. Lengthen the spine before you straighten the legs.
9. Lunge — inhale
Inhale and step the right foot forward between the hands — the same leg that went back in step 4 — and lower the left knee. Lift the chest and look up. If the foot does not reach, use a hand to help it forward; that is not cheating.
10. Forward bend — exhale
Exhale and bring the left foot forward beside the right, folding down from the waist with the palms still in place.
11. Raised arms — inhale
Inhale and come up with the arms stretched forward, then up and back over the head, arching gently as in step 2. Coming up with a long, straight spine protects the back.
12. Return upright — exhale
Exhale and come back to an upright position, bringing the arms down to the sides or into prayer. Pause for a breath. Then begin again, this time taking the left leg back in step 4.
The breath, and holding it in the plank
The rule is simple: inhale as the body opens and lifts; exhale as it folds and lowers. Breathe through the nose, and let each movement take as long as its breath — not the other way round. If you find yourself gasping through the mouth, you are going too fast.
The one exception is position 5, where the breath is briefly held. Brief retention is part of the classical practice, but it is not for everyone. If you have high blood pressure, a heart condition, or are pregnant, do not hold the breath — simply keep breathing normally through the plank.
The twelve mantras
Traditionally, each position is accompanied by one of the twelve names of the sun, spoken aloud or silently. You do not need them to benefit from the practice, but many people find they steady the rhythm and the mind. Each takes the form Om … Namah — "salutations to…". Their meanings are commonly given as:
| # | Mantra | Commonly translated as |
|---|---|---|
| 1 | Om Mitraya Namah | The friend of all |
| 2 | Om Ravaye Namah | The shining one |
| 3 | Om Suryaya Namah | The one who brings activity |
| 4 | Om Bhanave Namah | The one who illuminates |
| 5 | Om Khagaya Namah | The one who moves through the sky |
| 6 | Om Pushne Namah | The giver of nourishment and strength |
| 7 | Om Hiranyagarbhaya Namah | The golden cosmic self |
| 8 | Om Marichaye Namah | The lord of the dawn's rays |
| 9 | Om Adityaya Namah | The son of Aditi |
| 10 | Om Savitre Namah | The one who awakens |
| 11 | Om Arkaya Namah | The radiant one |
| 12 | Om Bhaskaraya Namah | The one who leads to light |
A beginner can simply start with the first mantra on the first position of each round, and add more once the physical sequence feels natural.
How many rounds, and how fast
Start with four rounds — that is eight passes through the sequence, alternating legs — and build gradually towards twelve, over weeks rather than days. Speed matters less than rhythm: the breath sets the pace. A slow, even practice is far more valuable than a fast one, and a common sign of doing too many rounds is losing the breath.
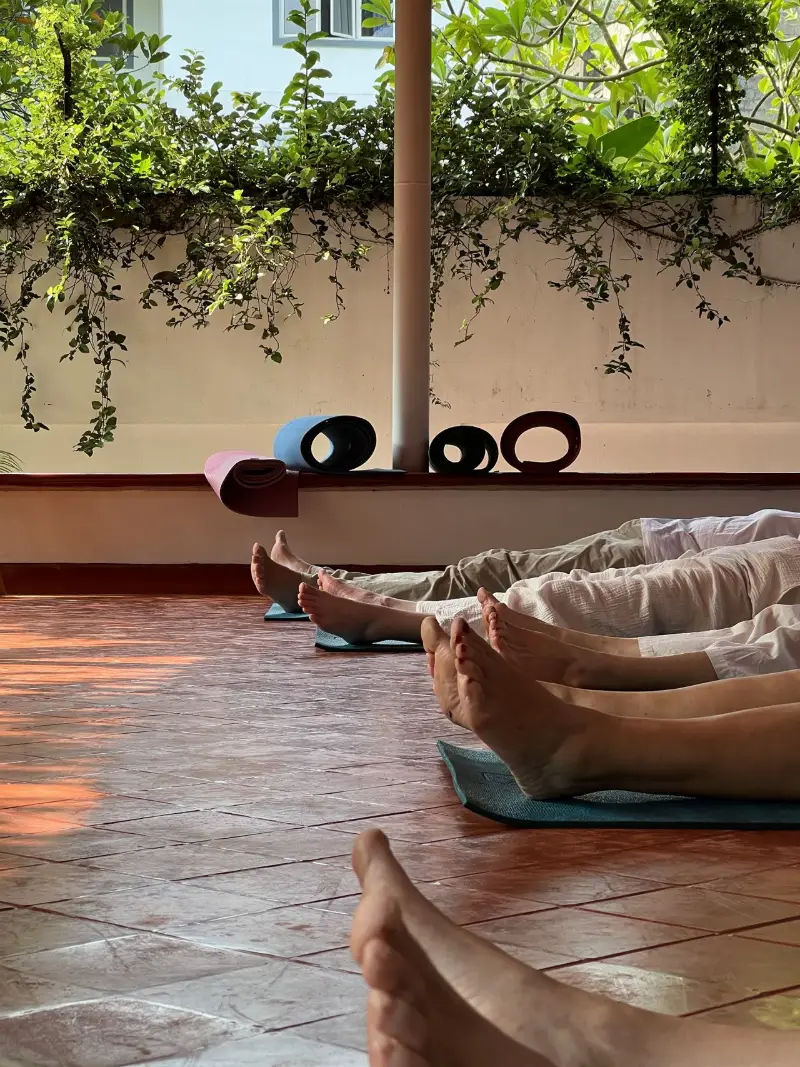
The traditional time is sunrise, facing the sun, on an empty stomach. If that does not fit your life, any time works as long as you leave about three hours after a full meal. After your rounds, lie down and rest for a minute or two before anything else.
Common mistakes
- Moving the hands between steps 3 and 10. Once placed, they stay. If the foot will not reach forward in step 9, help it with a hand rather than shuffling the hands back.
- Locking the knees in the forward bend. Bend them. Straight legs with a rounded, straining back is the wrong trade.
- Sagging or piking in the plank. One straight line from head to heels.
- Collapsing all at once in step 6. Knees, then chest, then forehead — in that order, with control.
- Hauling up into the cobra with the arms. Lift with the back; keep the elbows soft and the shoulders down.
- Losing the breath. If you are breathing through the mouth, slow down or stop.
- Forgetting to switch legs. Always complete the round on both sides.
Who should modify, or ask first
Surya Namaskar is suitable for most healthy people, but it is a real physical practice. Consult a doctor and a qualified teacher before starting if you have uncontrolled high blood pressure or a heart condition, have had recent surgery, have a hernia, have serious back, neck or wrist problems, or are pregnant.
Many people in these situations can still practise a modified version — for example without breath retention, with the knees down in the plank, or with a smaller back-bend. This is exactly where learning in person helps: a teacher can see what your body is doing, which no article can.
What it actually does
Stated honestly, without the exaggerations common online:
- It mobilises the whole body. The spine flexes and extends, and the hips, shoulders and hamstrings all move through their range.
- It builds strength in the arms, shoulders and core, particularly through the plank and step 6.
- It warms the body and, practised for several rounds, raises the heart rate.
- It trains attention. Linking every movement to a breath is itself a concentration practice, and many people find it calming.
It will not, on its own, cure illnesses or melt away weight, whatever you may read. It is a sound, time-tested daily practice — which is a good enough reason to do it.
Learn it with corrections
Every morning and afternoon class at our school includes the Sun Salutation, taught with hands-on adjustments. In Fort Kochi, drop in for ₹500 (normally ₹600). Abroad, join us online.
Once the sequence is familiar, the next inversion most students ask about is how to do a headstand safely. Its cooling counterpart is Chandra Namaskar, the moon salutation, which suits an evening far better.
Common questions
How many rounds should a beginner do?
Four, building gradually towards twelve over weeks. One round is the sequence performed twice — right leg leading, then left.
What are the 12 steps?
Prayer position, raised arms, forward bend, lunge, plank, knees-chest-forehead, cobra, inverted V, lunge, forward bend, raised arms, and back to standing.
What is the best time to practise?
Traditionally at sunrise on an empty stomach. Any time works if you leave about three hours after a full meal.
Which leg goes back first?
Either, as long as you alternate. Lead with the right leg, then repeat leading with the left; together that is one round.
Who should avoid it?
Anyone with uncontrolled high blood pressure, heart conditions, recent surgery, hernia, serious back or wrist injuries, or who is pregnant should consult a doctor and a teacher first. Many can do a modified version.
Does Surya Namaskar help with weight loss?
As part of regular activity and sensible eating, it can help. On its own, a few rounds a day is not a weight-loss programme; it is better valued for mobility, strength and focus.
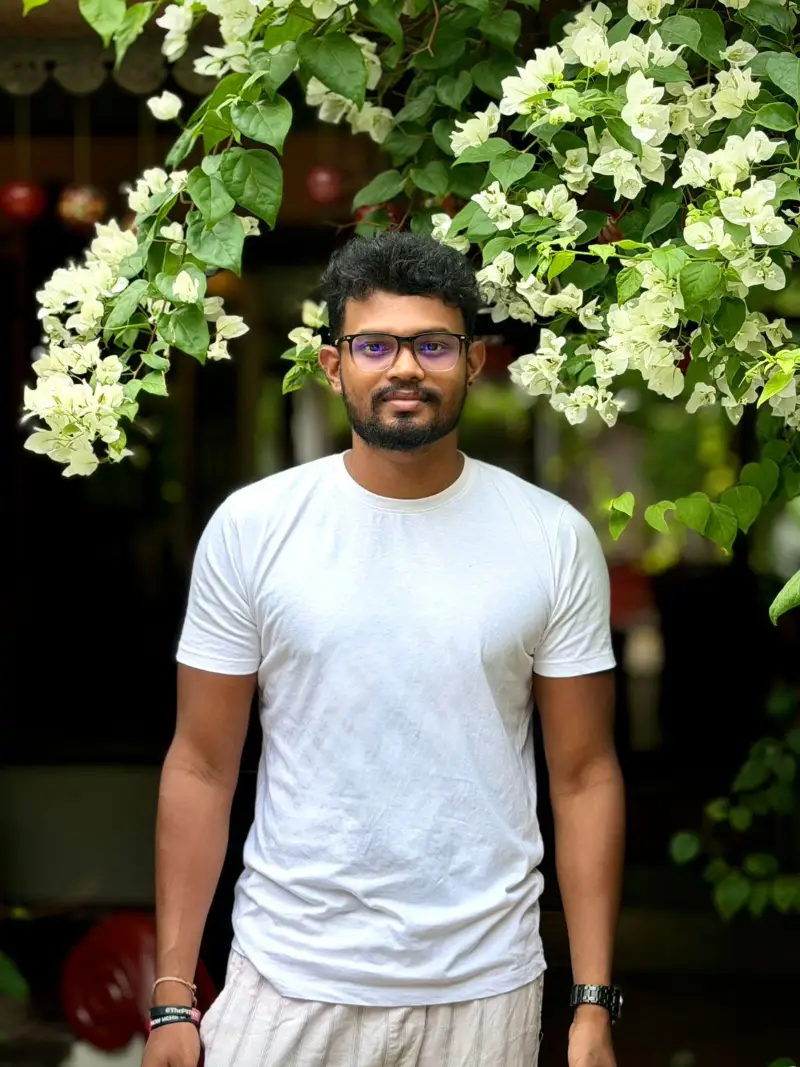
Known to his students as Achu, Aksharanand trained in the Sivananda tradition and holds an Advanced Teacher Training Certificate. He has taught Hatha Yoga, pranayama, meditation and Vedanta philosophy in Fort Kochi for over fifteen years, across more than 5,000 group classes.
More about Achu and the school · Classes and online sessions